This blog post is a companion to a video tutorial here:
The files used in this tutorial can be downloaded here: https://pages.mtu.edu/~shanem/pebl-uploader.zip
This blog posting describes how to user the PEBL Data server to allow you to upload data to a central server, once it has been completed by a participant. It covers a number of possible uses, including collaborators working at multiple locations, participants running tests on their own computers, and even just easy methods for combining data from multiple computers in the same laboratory.
The goal of this tutorial is to show how to create an account on my PEBL Data server, and use it to upload data from a PEBL test. I have my own instance of the data server available at http://obereed.net/PDS, but you can also install and host your own version on your own server, provided you have PHP with appropriate libraries.
Creating an account on the PEBL Data Server
First, let’s cover how to make an account on the PEBL Data Server (PDS). The server is set up so that anyone can make an account, but the account must be approved before it can be used. For the time being, because the server is in its infancy, I’m willing to approve users for testing and small-scale data collection projects. In the future, I will probably offer this as a service for PEBL donors or in exchange for payment. However, the code for the server will be available for use by anyone who wants to host their own data server. This data server is not intended as a data archive for publishing data, but rather a private server to allow PEBL tests to upload their data to a central database, allowing experimenters to download easily.
To use PDS, go to the following website: http://obereed.net/PDS.
It should look like this:
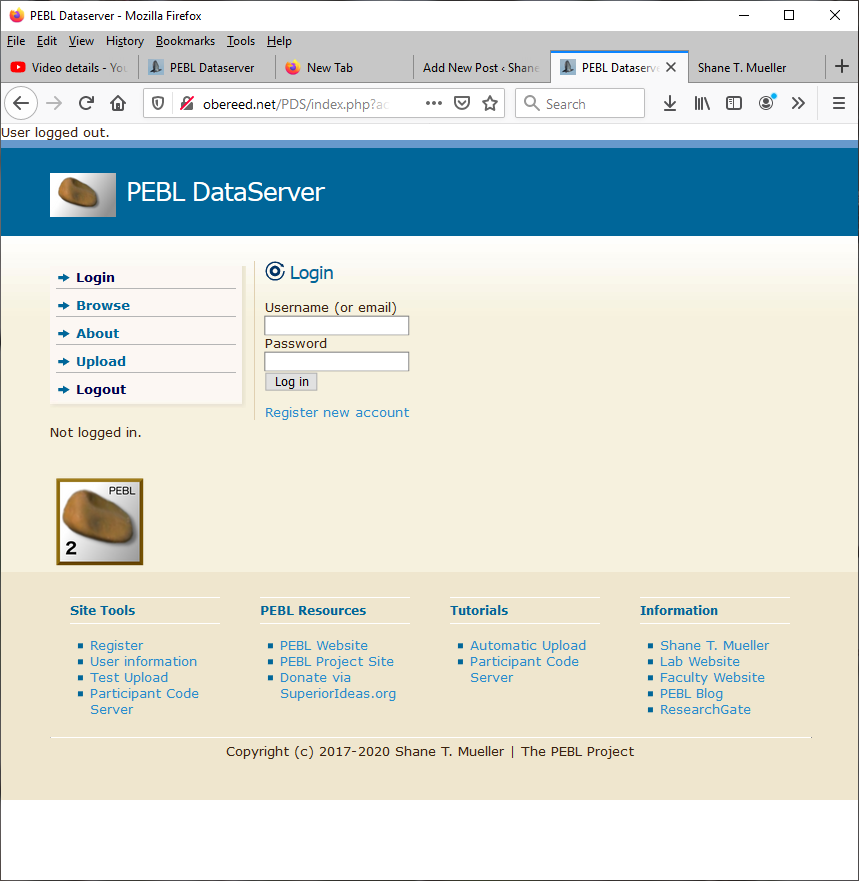
To register a new account, you must specify an email contact information, a username and two passwords. The first is a standard password you use to access the website. The second is an ‘upload password’, which only allows you to upload data. It is used in configuration files within PEBL, saved in plain text, and in a file you might send to users, so it should not be something you use elsewhere.
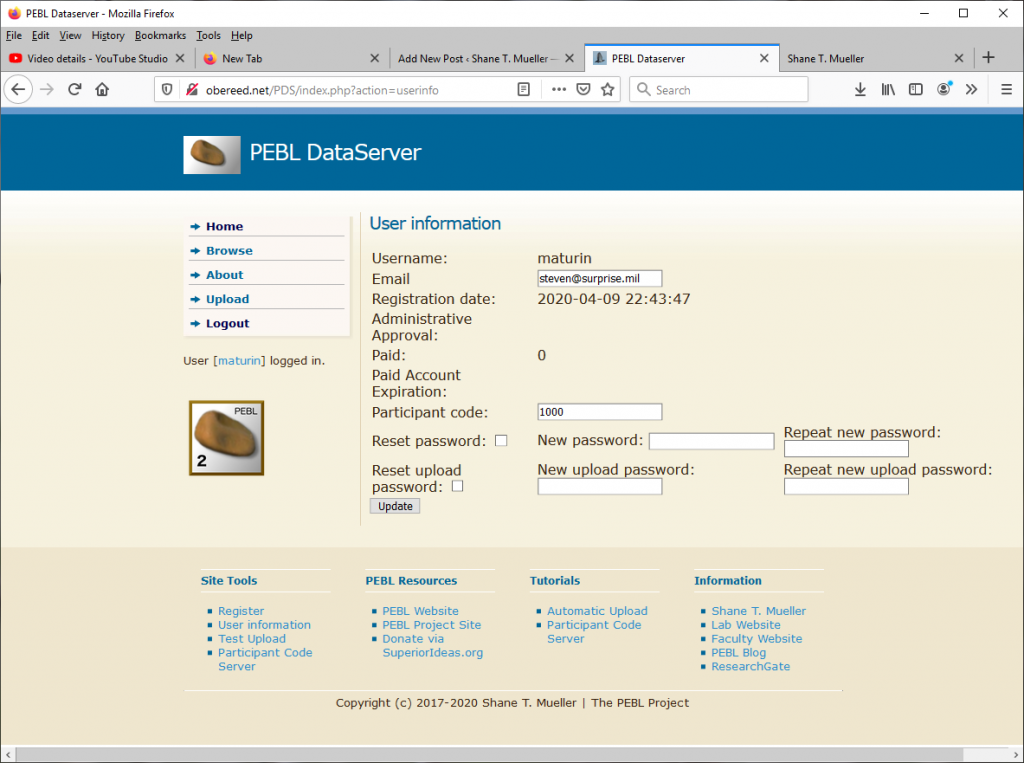
Once this is complete, you can log in with your main password. Here I created a user called ‘maturin’. If you click on the [maturin] link on the left, you get the the user information screen seen below. Right now, although you can log in and change passwords, you cannot yet upload because the account has not been approved. An administrator needs to approve you. If you want to try this out, contact me and I can approve your account.
Testing the server with a test upload script
The first thing you should do is test the data server from your own computer. I have provided a pebl file called testUpload.pbl, and a configuration file called ‘upload.json’ which include the information needed to upload data to this server. My upload.json looks like this, but you need to change the username and uploadpassword entries to your own settings. The taskname is where the data will get saved. The host/page/port will allow you to use a different data server, including one you host yourself. This is example contents of upload.json:
{
     "host": "obereed.net",
     "page":"/PDS/uploadPEBL.php",
     "subnumpage":"/PDS/getNewSubNum.php",
     "port": 80,
     "username": "maturin",
     "uploadpassword":"wrongpassword",
     "taskname":"testupload"
 }
If you edit this file, save it in the same location as testUpload.pbl, and then run it from Version 2.1 or later of PEBL, it should show the following:
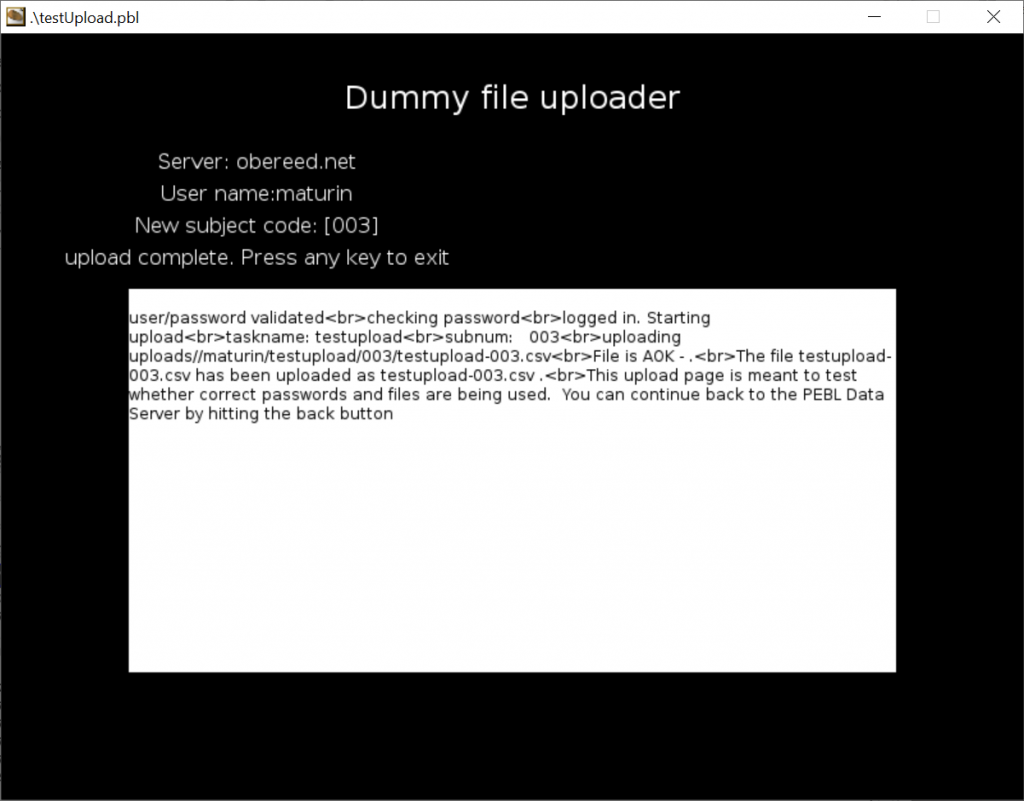
The message it shows is basic debugging information from the webpage. If you read carefully, it indicates that the file has been uploaded. If your account is not approved or you have incorrect information in the upload.json file, it will fail with another message:

Notice that for the incorrect password, it uses a random subject code, and tells you the user was not logged in properly. For the correct password, this demo gets a new subject code from the server so that you can use a unique number for each user.
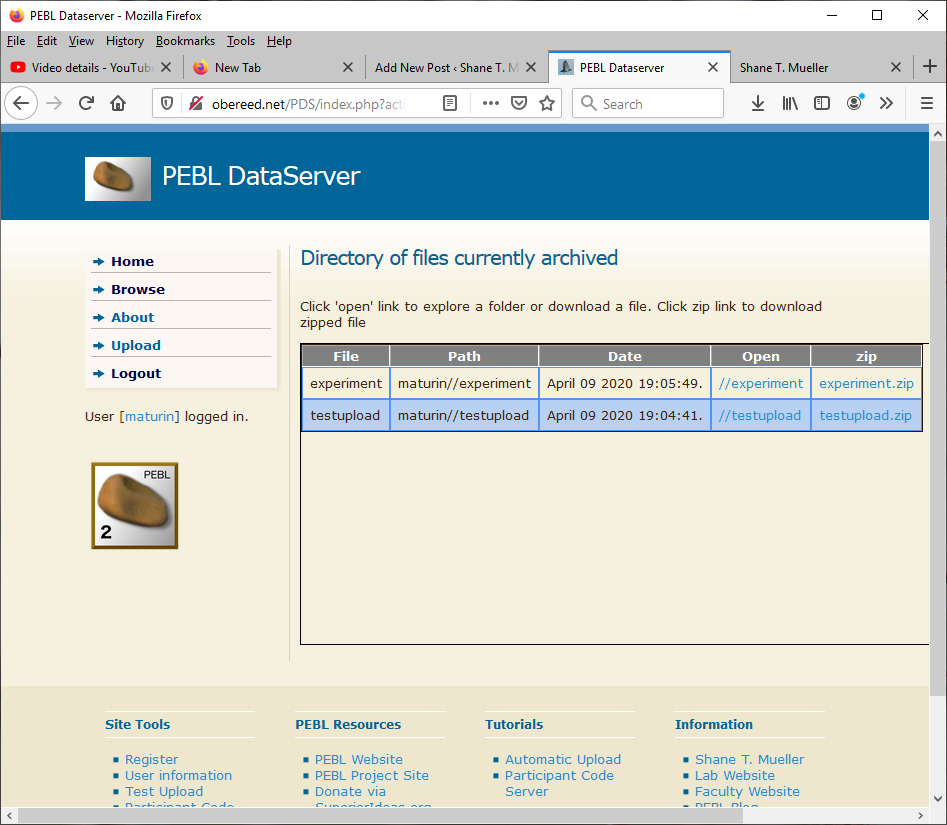
Now, if we return to PDS, we should see the data immediately (use the browse menu):
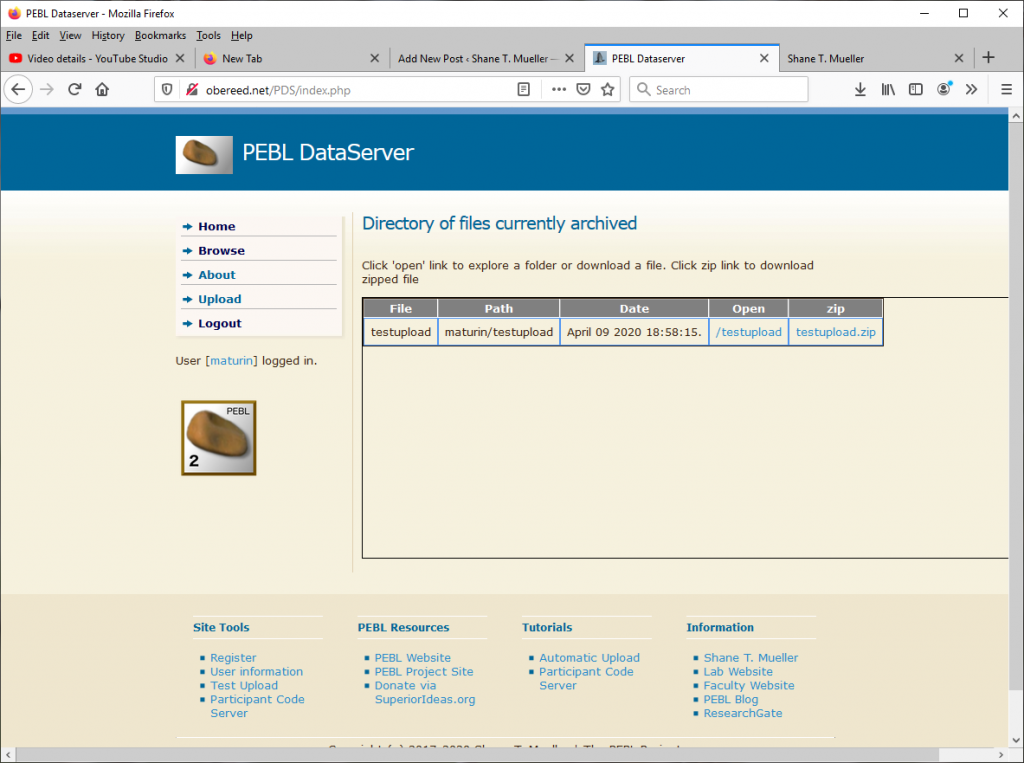
If I run the test uploader a few more times, I can follow the link to testupload and see each data file uploaded:
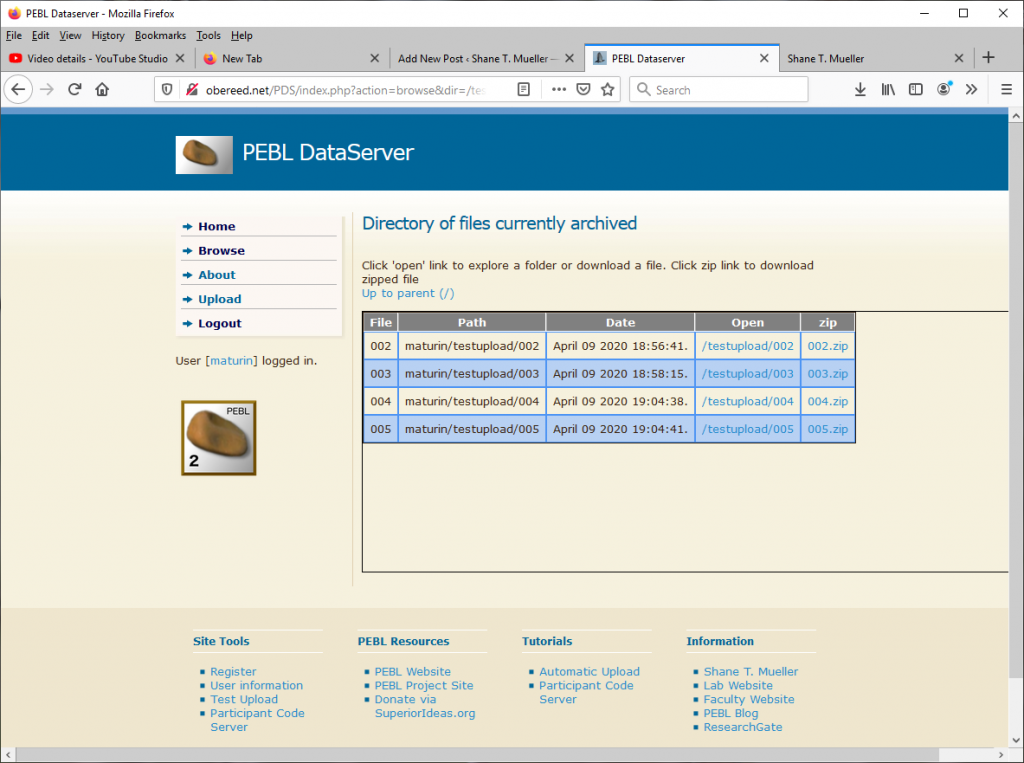
If I change the taskname entry in upload.json, it will upload to a different task. Let’s change it to ‘experiment’:
For each study, the data can be browsed by subject, or can be downloaded into a single .zip file.
Building uploading into a test
There are several functions I have written to support uploading data to PDS. The basic functionality is available in PEBL 2.1, but these functions are currently not (except in the standalone version of 2.1.3). Consequently, to add uploading to a new test or one in the test battery, you need to go through several steps. As in the previous tutorial, we will use the clock test as an example.
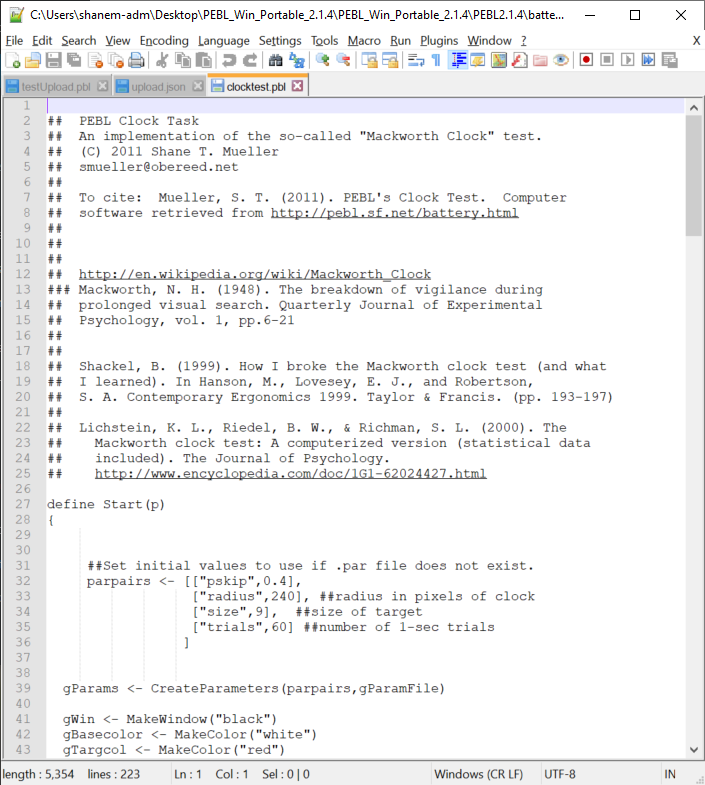
Open the .pbl file that runs the test.
First, navigate to the test you want to use, and open it via notepad++ or another text editor. Here, I will use clocktest.pbl:
2. Copy in the four helper function at the end of the file
If you are using 2.1.3 or earlier, you will need to copy these two functions into the end of the file:
define UploadFile(subcode,datafilename,settings:"upload.json")
{
  settings  <- ParseJSON(FileReadText(settings))
  host <- settings.host
  page <- settings.page
  port <- ToInteger(settings.port)
  username <- settings.username
  uploadpassword <- settings.uploadpassword
  taskname <- settings.taskname
  out <-   SyncDataFile(host,page,port,username,uploadpassword,taskname,subcode,datafilename)

 return out
}

define SyncDataFile(server,page,port,username,pword,taskname,subcode,datafilename)
{

  filecontent <-FileReadText(datafilename)


  cr <- CR(1)

  bound <- "**boundary**"
  boundary <- "--"+bound


  content <- cr+boundary  +cr+
  "Content-Disposition: form-data; name="+gQuote+"upfile"+gQuote+"; filename="+gQuote+"testpost.pbl"+gQuote +
  cr+
  "Content-Type: application/octet-stream "+cr+  ## text/plain" need the space or extra cr here.
  cr+
  filecontent +
  boundary + "--"
  cl <- StringLength(content)+1

  args <- ["user_name",username,
           "upload_password",pword,
	   "taskname",taskname,
	   "subnum",subcode]

  headers <- ["Connection","close",
  	      "Accept", "text/plain",
              "Content-Type", "multipart/form-data; boundary="+bound,
              "Content-Length",((cl)+"")]

  out <-  PostHTTPFile(server,port,page,args,datafilename,"fileToUpload")

 return out
}
3. Identify data save files.
In most PEBL tasks, data gets saved trial-by-trial using a file variable called gFileOut or fileout. In addition, there are sometimes report files and other files that get saved either during the task or at the end. You need to find the variables which create these files, using functions like GetNewDataFile() or FileOpenAppend(). By searching through clocktest.pbl, we can see there are two files that save data, one called fileout around line 84, and one called report on line 186
84 fileOut <- GetNewDataFile(gSubNum,gWin,"clock","csv",
85              "subnum,trial,ticker,sec,skip,resp,corr,starttime,rt,curtime")

186   report <- FileOpenAppend("data/"+ gSubNum+"/clock-report-"+gSubNum+".txt")
4. Identify a point in the script to upload the data
We need to find a point in the function where data collection is done, and the data has been saved. Once this is done, you can upload the data files. In clocktest, it makes sense to do this right after the report file is written, but before the ‘hit x’ to finish is waited for; right before the Draw function around line 190:
   report <- FileOpenAppend("data/"+ gSubNum+"/clock-report-"+gSubNum+".txt")
   FilePrint(report,text)
   FileClose(report)

   Draw()
   WaitForKeyPress("X")
5. Add the upload function call
Now, we need to call the function UploadFile for each of the files we want to upload. The name of the file is available in report.filename and fileout.filename. Each task will be a bit different, but this pattern should work for any PEBL task. I will the Print() function so that we can see any error messages produced by the server.
out <-  UploadFile(gSubNum,fileout.filename,"upload.json")
Print(out)
out <-  UploadFile(gSubNum,report.filename,"upload.json")
Print(out)
6. Edit and save a copy of upload.json to the task folder
Now, you must copy upload.json (assumtng you have edited the task name) to the folder you are using. I suggest using a name corresponding to the test being run, in this case “clocktest”.
7. Run the test and confirm it uploads to the data server
This is the last step! If it works, you now can run your task from any computer with internet access (just copy the entire task directory, including the json file, to wherever you will run). The data will be synched to the server, identified by the participant code you used, with timestamps.
That is it. Together with the previous tutorial, you can use these together to have participants download a package to their own computer, run the test, and have the data automatically uploaded, without worrying about them sending you data files via email or something.
184 comments on “Using PEBL Remotely Tutorial 2: PEBL Data Server”
Comments are closed.